
This process consisted of digitizing the district boundaries. The district boundaries were obtained from Atlas of India by Oxford University Press (1990). The digitization was followed by cleaning and building the polygons. The following steps were used for this purpose;
1. Be sure both the PC and the monitor (Fig. 1) are turned on.
Figure 1. PC attached with the digitizer in GIS and Remote Sensing lab at the Department of Geography, KSU.
2. Turn on the digitizer (Fig. 2). You will hear three beeps if digitizer is working properly.
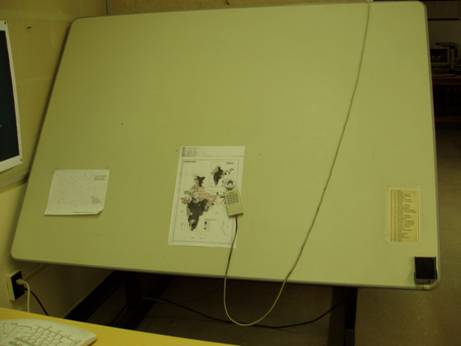
Figure 2. Sumagrid digitizer.
3. Open Arcedit
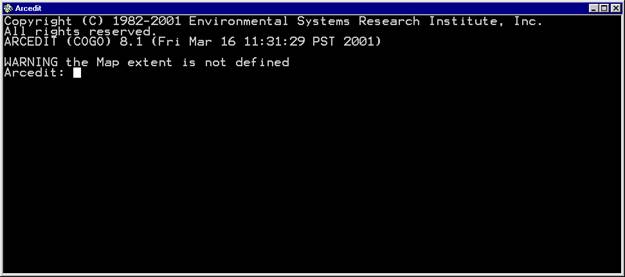
4. Select working directory
Arcedit: &workspace “directory name” e.g. z:\
5. Coordinate digitizer
Arcedit: digitizer sgmg3 com1:9600:7bit:even
Arcedit: coordinate digitizer
6. Create coverage
Arcedit: create "file name" e.g. southasia
If you are using an old coverage;
Arcedit: mapex "file name" e.g. southasia
Arcedit: edit "file name" e.g. southasia
Kill "file name" can be used to delete an existing coverage
7. Entering Tic ids
Place the digitizing keypad (Fig. 3) on the desired point and enter tic ids followed by "A" "1" e.g. press 6 9 followed by “A” “1”
Enter the next ids in the same manner.
When finished enter "0" "A"
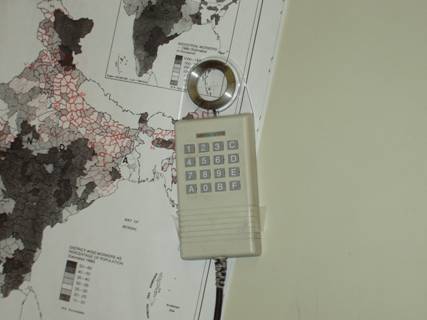
Figure 3. Digitizing keypad.
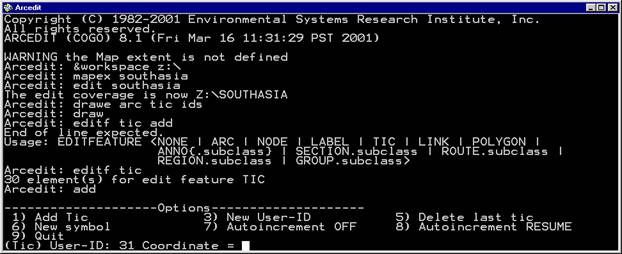
8. If creating a new coverage, the program will ask u to define the box after entering the tic ids.
Click on two opposite corners slightly larger than the map, using "1" on the keypad.
9. Begin digitizing
Arcedit: drawe arc label tic ids node
Arcedit: draw
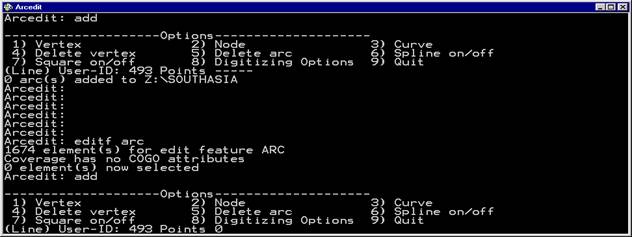
Arcedit: editf arc
Arcedit: add
10. Add arcs
Place the keypad on the desired line
Make a slight overshoot on both ends of the line
Click 2 to start and end a line and repeated "1" to draw the line
When finished click "9"
11. Labeling polygons
Arcedit: editf label
Arcedit: add
On keypad press "8" "1" and enter label id followed by "A" "1"
12. Save changes
Arcedit: save
13. Clean the arcs
Arcedit: clean
14. Build the polygons
Arcedit: build
15. Quit the Arcedit
Arcedit: quit